Power Acoustik PD-710 User Manual
Browse online or download User Manual for Car media receivers Power Acoustik PD-710. Power Acoustik PD-710 User's Manual [en]
- Page / 25
- Table of contents
- TROUBLESHOOTING
- BOOKMARKS
- Owner’s Manual 1
- CONTENTS 3
- Accessories 4
- WIRING CONNECTIONS 6
- REMOTE CONTROL 10
- REMOVE BATTERY 12
- MAIN MENU 13
- ◆ DVD PLAYER 14
- ◆TV Mode 15
- ◆AV-IN Mode 16
- ◆SETTING CONTROL 16
- RADIO CONTROL 17
- GENERAL CONTROL 17
- DVD SET UP MENU 17
- DISPLAY CONTROL 17
- Other functions 19
- TROUBLESHOOTING 23
- TECHNICAL SPECIFICATIONS 25
Summary of Contents
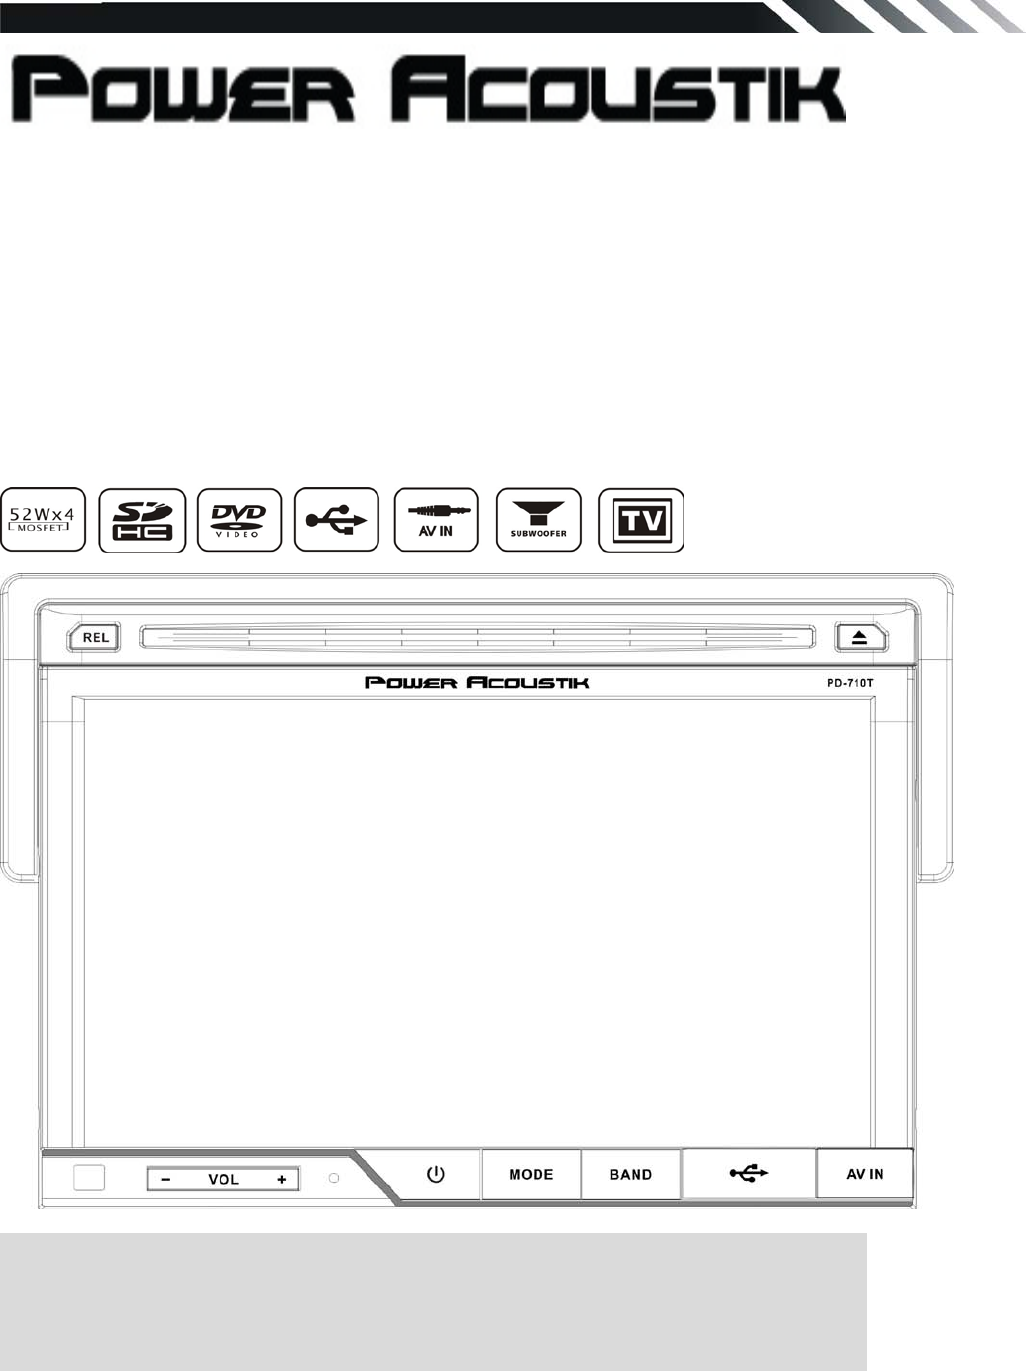
PD-710/ PD-710T In-Dash 7 ” Monitor Touch Screen DVD/CD/MP3/MP4 AM/FM Radio Built-in TV tuner Owner’s Manual Take the time to read th
10 REMOTE CONTROL 1. MODE button Press it to select the mode: Radio, DISC (if there is a disc in unit), USB (if there is a USB device in the u
11 9. / seek- buttons In DVD mode, Press button to skip to the previous track. Press and hold button for two seconds to activate fast reverse
12 26. AUDIO/GOTO button In DVD mode press it to select the audio language. In VCD mode, press it to select the sound track in the sequence of MONO
13 MAIN MENU The best way to discover the program is to explore each screen in detail, and to find out how to move from one to another. Read this c
14 ◆ DVD PLAYER To start DVD Player, tap on DVD button from main menu screen. TOUCH SCREEN MENU You will not see any buttons while DVD is playe
15 In DVD mode touch it to enter TITLE MENU (Enable only if the DVD disc with title menu). / Touch it to select previous or next track. ◆File
16 ◆AV-IN Mode To start AV-IN Mode, tap on AV-IN button from main menu screen. Connect the external audio/video signal source to this unit. Select
17 DISPLAY CONTROL Tap DISPLAY button to show DISPLAY menu. RADIO CONTROL Tap RADIO button to show RADIO menu. GENERAL CONTROL Tap GENERAL
18 [1]. Subtitle Lang setting: With this option you can select the preferred language for the subtitles. When the selected language is r
19 [7] NTSC/ PAL: Select this menu item to set up your preferred video output format. PAL is commonly used in Europe, NTSC is commonly used in the
2 WARNING! To promote safety, certain functions are disabled unless the parking brake is on. The Unit is designed to detect parked status and mus
20 TV SECTION (For PD-710T only) Connect a TV antenna to the TV antenna jack of the unit. Select TV mode; press on the center of the touch screen,
21 Select this menu item is to set TV system: SECAM => NTSC =>PAL ,press NTER button on the remote or tap the screen to select. Audio Sel
22 NOTES ON DISC Only use groundless loudspeakers. Use only loudspeakers of minimal 40Watt, using fewer watts may result in damaging your lo
23 TROUBLESHOOTING Symptom Cause Remedy General Power does not turn on. (No sound is produced.) Fuse is blown Replace with fuse o
24 TROUBLESHOOTING SYMPTOM CAUSE SOLUTION NO POWER THE CAR IGNITION IS NOT ON. IF THE POWER SUPPLY IS PROPERLY CONNECTED TO THE CAR ACCESSORY SWI
25 TECHNICAL SPECIFICATIONS General Power supply: 11~16V DC Current consumption: max. 15 A Maximum power output: 52W x 4 channels (max) Compatibl
3 CONTENTS WARNING! ... 2OPERATION
4 Accessories Package contains the following accessories for installation and operation of the unit. (1) Washer, Spring Washer, M5 Nut 1 each (2
5 INSTALLATION / UN-INSTALLATION Note Before starting installation of the unit, make sure the wiring is connected properly. Use only the parts prov
6 WIRING CONNECTIONS NOTE: Never connect cable to the system while it is connected to the battery power. Whenever the unit is disconnected from
7 Note: - Only use groundless loudspeakers. - Use only loudspeakers of minimal 40Watt, using fewer watts may result in damaging your loudspeakers
8 Front pane Inner panel 1. IR Sensor IR Remote control signal receiving window. Max distance is 6-8 meters, 45 angels. 2 VOL- button Press
9 3 VOL+ button Press to increase volume level. 4. POWER/MUTE Button Press it to turn on the unit, press it again to turn the unit off. Short press
Related products and manuals for Car media receivers Power Acoustik PD-710
 (27 pages)
© 2020, manymanuals.com. All rights reserved. | 4.266 s |
 Manymanuals.com
 Manymanuals.de
 Manymanuals.fr
 Manymanuals.it
 Manymanuals.pl
 Manymanuals.cz
 Manymanuals.es
 Manymanuals-pt.com
Comments to this Manuals